Rolling out artificial turf might sound like a simple project, but getting it to look perfect and last for years takes skill, precision, and the right tools. A proper installation ensures the surface stays level, drains well, and looks just as good in year ten as it does on day one.
Here’s a look at how professionals install turf in Tampa and why each step is so important to the finished product.
Step 1: Preparing the Site
The process starts by clearing the area of any existing grass, weeds, rocks, or debris. The ground is leveled and graded to create the right slope for water runoff. This step is essential—skipping it can lead to uneven surfaces and drainage issues later.
Step 2: Creating the Base Layer
A compacted base, usually made from crushed stone or aggregate, is spread evenly across the space. This base keeps the turf stable and allows rainwater to drain through instead of pooling on top. In Tampa, materials that resist erosion are key because of heavy seasonal rains.
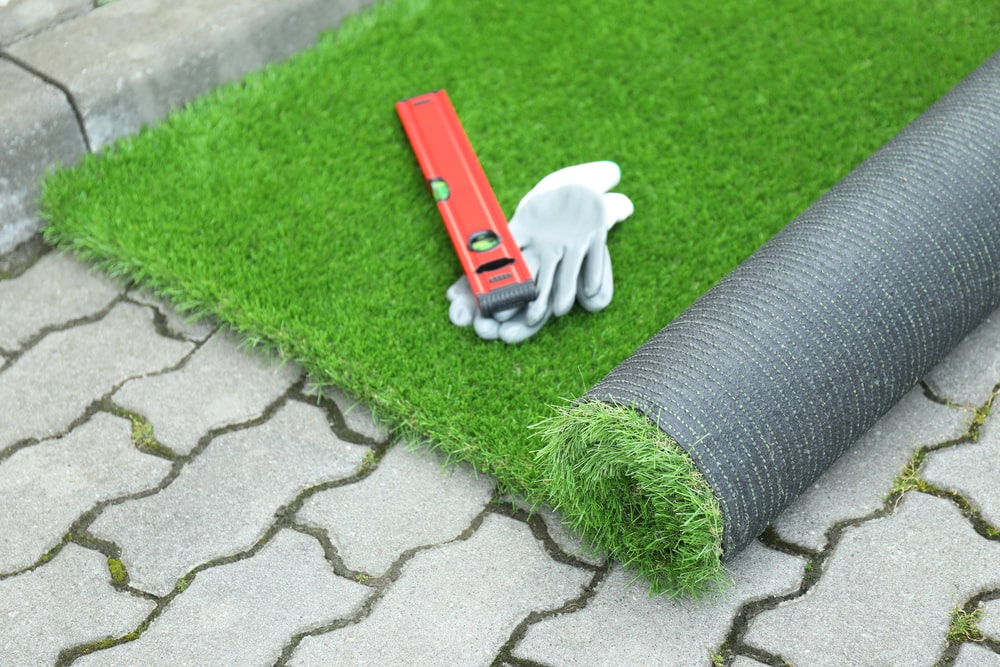
Step 3: Laying the Turf
The turf is rolled out so all the blades face the same direction, giving it a consistent, natural look. Installers carefully trim around edges, curves, and obstacles for a seamless fit.
Step 4: Securing the Seams and Edges
If multiple rolls are used, they’re joined with seam tape and adhesive so the connections are invisible. The turf is then anchored around the perimeter with nails, staples, or spikes to prevent shifting.
Step 5: Adding the Infill
A layer of infill—such as silica sand or a specialty product—is brushed into the turf. This helps the blades stand upright, adds cushioning, and prevents movement. For pet areas, antimicrobial infill can be used to control odors.
Step 6: Final Grooming
The turf is brushed to lift the blades and evenly distribute the infill. This gives it that “freshly mowed” appearance and ensures even wear over time.
Why Professional Installation Matters
A DIY job might seem tempting, but common mistakes like poor grading, visible seams, or improper drainage can cut the lifespan of your turf in half. Professional installers have the experience and equipment to avoid these issues, giving you a flawless, long-lasting result.
FAQs
Can turf be installed over concrete? Yes—installers add a cushioning layer and ensure proper drainage.
How long does installation take? Most residential projects are done in one to three days, depending on size.
Will heavy rain damage my turf? No—when installed correctly, turf drains quickly and resists erosion.
Conclusion
Installing artificial turf the right way isn’t just about looks—it’s about ensuring years of performance, safety, and low maintenance. By following each step carefully and relying on experienced professionals, you’ll get a surface that’s as durable as it is beautiful.
Get it done right the first time—contact us for professional turf installation in Tampa.
Still deciding if turf is right for you? Start back at Who Benefits from Artificial Turf or explore our full turf installation services.